Construction of the Mac SE/X
Photo Gallery
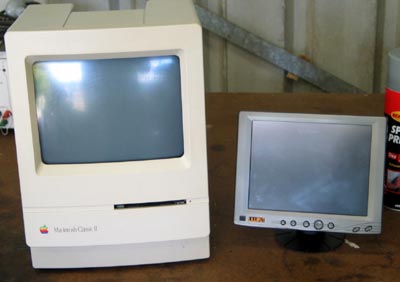
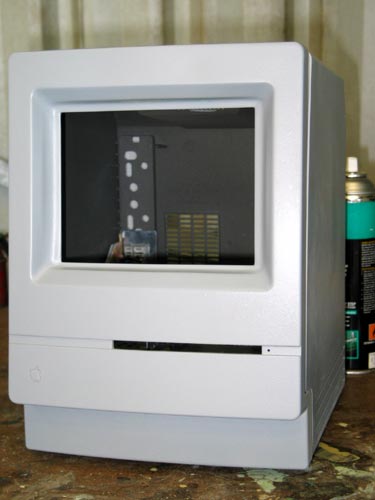
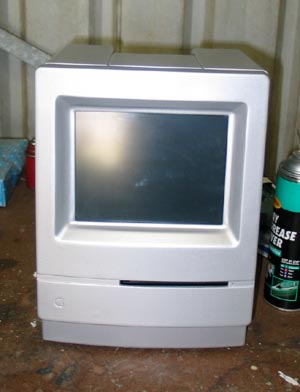
Before: The original Classic II and the 9" LCD monitor |
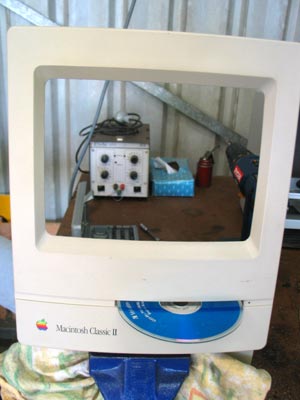
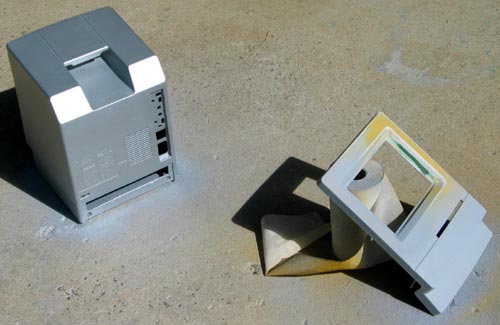
Floppy slot widened to accept a CD |
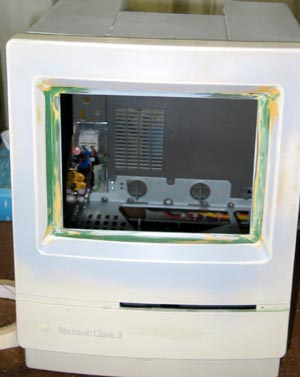
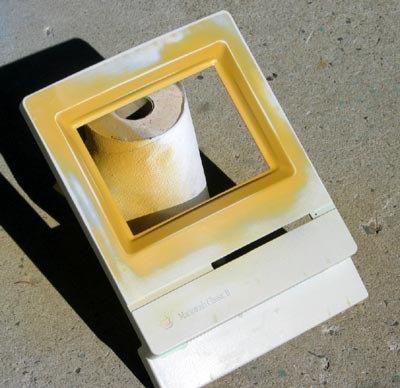
Screen bezel is modified with plasticard, epoxy and filler |
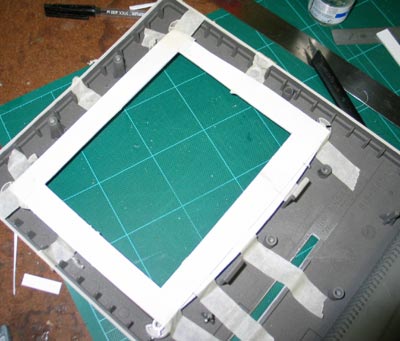
Start of work on screen bezel - edges are filled with plasticard and filler |
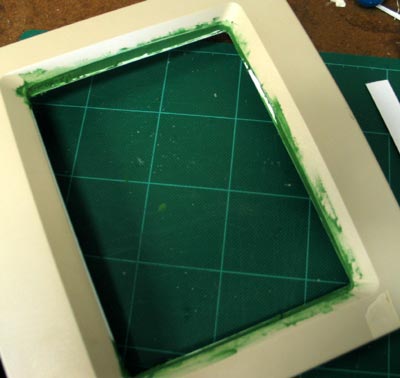
More filler |
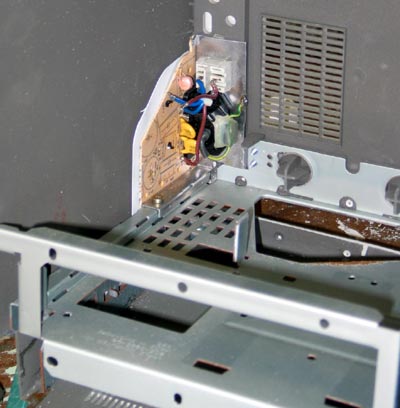
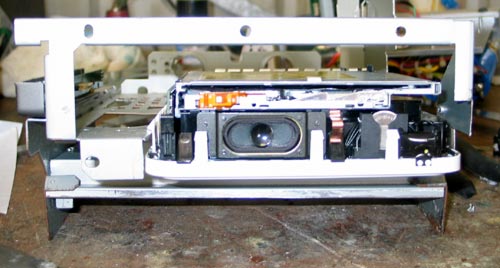
Original analogue board heavily modified to provide mains power input |
Screen bezel taking shape - more filler and lots of elbow grease |
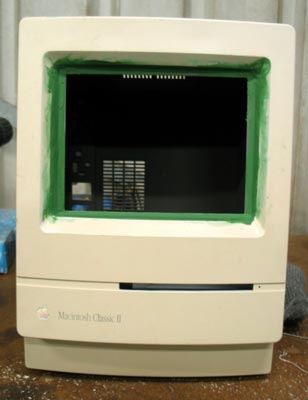
The front frame of the LCD is glued to the modified screen bezel and more filler use to blend the two |
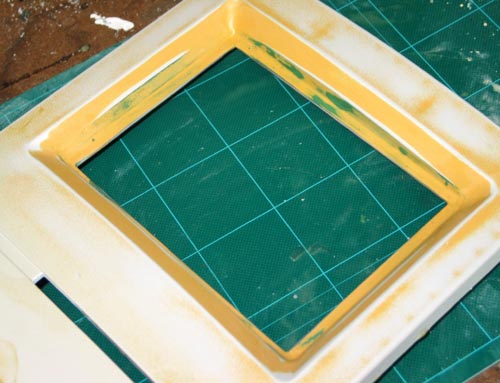
Screen bezel nearly complete, sprayed with primer to help reveal any areas needing more work |
Rear bucket sprayed silver, more primer and primer-filler used on the front panel |
Final primer-filler on screen bezel prior to last sand down before painting |
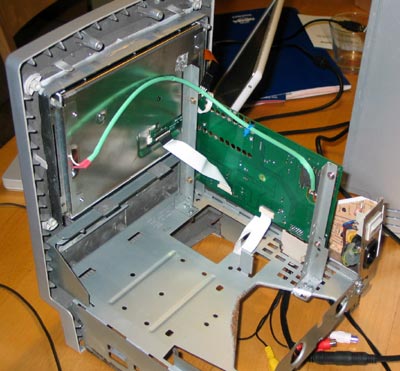
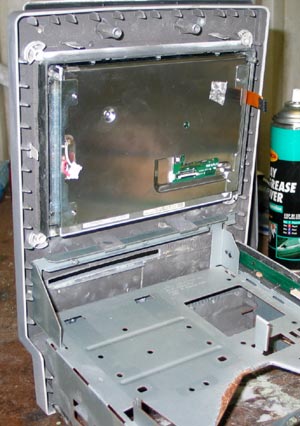
LCD monitor assembled to the front panel. The driver board is mounted at 90° |
The Mac Mini in position |
|
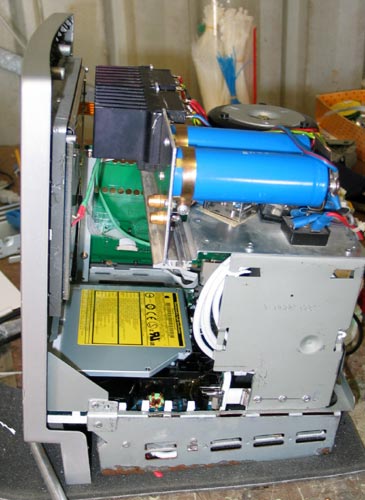
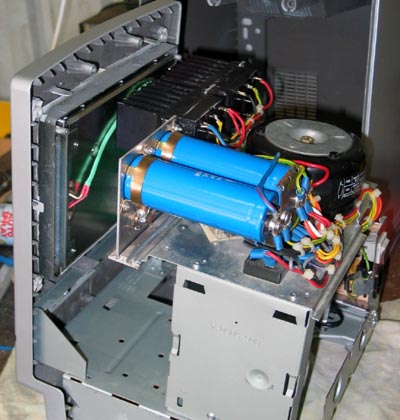
Audio power amplifier is assembled to the top of the chassis |
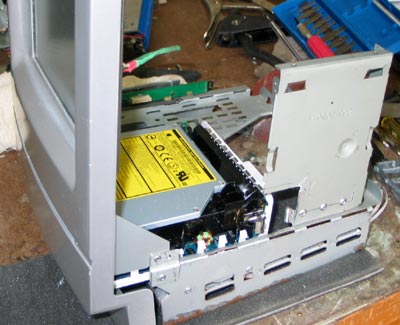
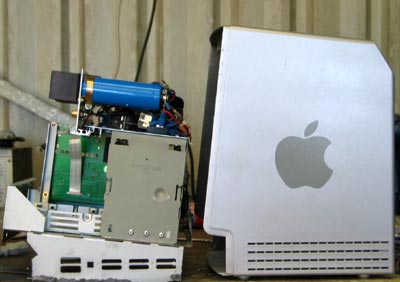
Mac Mini fitted into the chassis, which has been extensively cut away to fit it |
Mac Mini front view - sits on a new piece of fabricated chassis - the "deck" of the original one is about half-way up the Mini's height. |
Fit of the LCD monitor - this shot taken before the chassis was modified to accept the Mini |
Audio amplifier and power supply |
Fit of the chassis into the rear bucket |
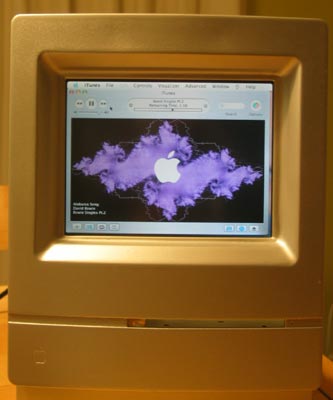
Screen test - LCD is powered up and tested before comlete system is assembled |
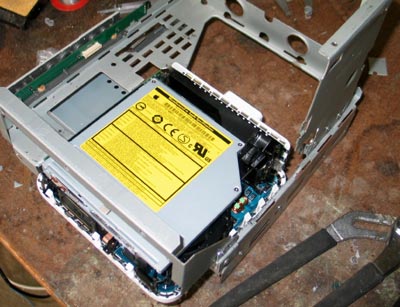
General view prior to final case finishing |
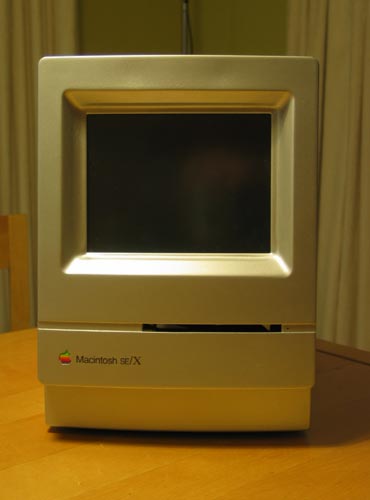
Case finished wih decals applied and final clear coat sprayed on |
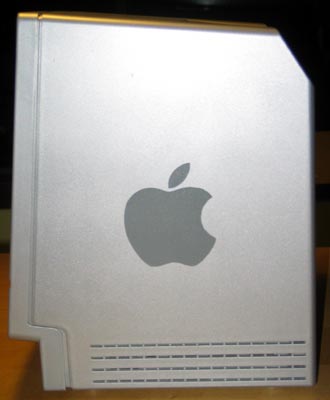
Apple G5-like logo sprayed in grey |

© 2006-2008 Graham Cox